PolyPuck v3 KIT | DIY KIT | Versatile Vertical Mount | Easy Ground Radials | Rugged and Ultra-Light
- Shipping World Wide
- Current Lead Time For Most Orders: 2-4 Weeks
PolyPuck V3 – Universal Vertical Antenna Mount for DIY Ground Planes
Stable, Versatile, and Built for Ham Radio Operators
The PolyPuck V3 is a rugged, universal mount designed to help you construct your own ground plane for Hamsticks, telescoping whips, and other vertical antennas. Whether you're operating portable or experimenting with antenna setups, this platform offers a simple yet effective solution for improved performance.
Key Features:
-
New & Improved Design (Version 3):
- Larger base with room for a ground spike for added versatility.
- Optimized leg angles for improved stability in various terrains.
- New weight hanger to attach a small weight for extra support in windy conditions.
- Secure Leg Retention: Integrated O-rings in the wells provide a tighter grip, keeping the legs firmly in place. O-rings are user-replaceable.
- Universal Compatibility: Features a 3/8-24 stud mount, making it compatible with a wide range of vertical antennas.
- Durable Construction: Made from rugged ABS plastic, 3D-printed in high-visibility orange for easy spotting in the field.
- Lightweight & Portable: Designed for easy transport and quick setup in field conditions.
Who Is This For?
Perfect for portable operators, POTA/SOTA activators, and emergency communication setups looking for a reliable mounting system.
What’s Included:
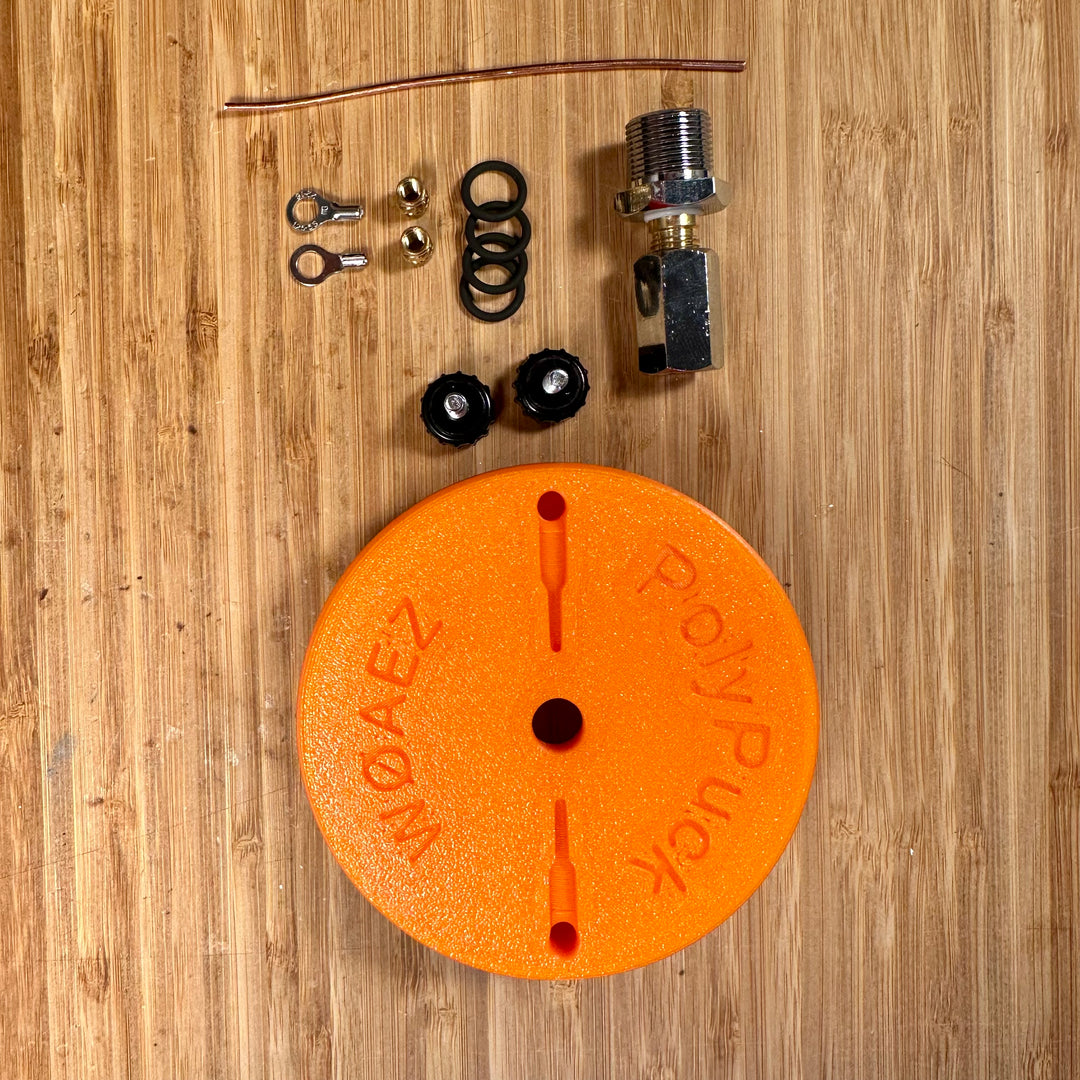
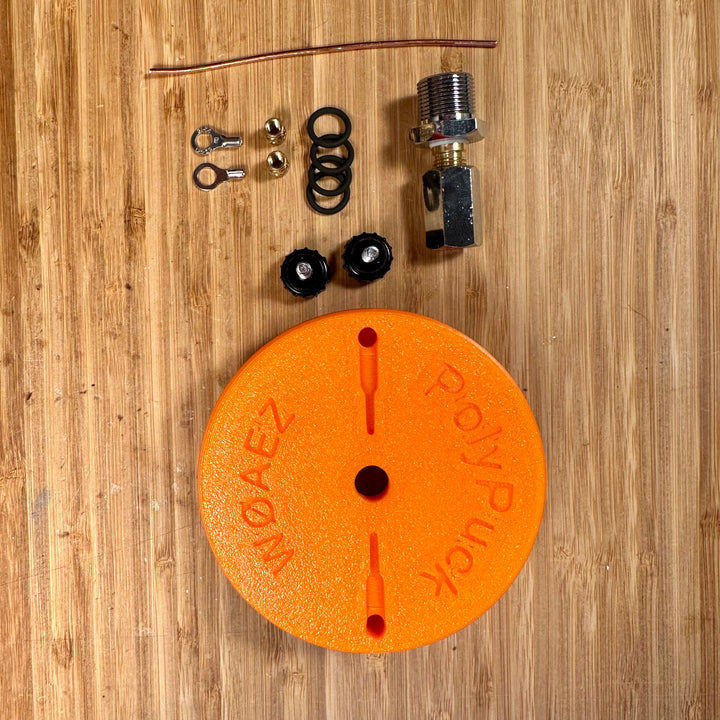
- (1) PolyPuck V3
- (2) Thumb screws
- (4) O-rings
- (1) 3/8-24 to UHF connector
- Length of Bare Copper Wire
- (2) Eyelet connectors
What You Need to Provide:
- Legs: Works with any 3/8" diameter rods (aluminum, fiberglass, pipe, etc.). Recommended 24-inch length for portability and stability.
- Ground Radials: Twelve 2.5m radials (24AWG silicone wire recommended for flexibility and lightweight).
- Counterpoise & Antenna: Choose your preferred Hamstick, telescoping whip, or vertical antenna.
Additional Accessories Available:
- Need an adapter? A wire winder for radials? I sell those too! Check out my store for accessories.
- Looking for a kit version? Click HERE for a kit!
Sourcing Your Own Materials:
- Legs: 3/8" diameter rods (aluminum, fiberglass, pipe, etc.) Available at McMaster-Carr, Home Depot, Lowes, or local metal distributors. Fiberglass rods (such as driveway markers or tent poles) can also work.
- Replacement O-rings: Available on Amazon (10-pack).
- Silicone Wire for Radials: 20AWG or 24AWG wire spools available online.
Assembly Guide Click Here!
Materials:
Replacement O-rings on Amazon, 10 pack.
20AWG Silicone Wire for radials, 100ft spool.
3/8 Aluminum Rod, precut to different lengths. McMaster-Carr
3D Printing Option:
Own a 3D printer? The PolyPuck V3 design is available for free on:
Shipping costs are calculated at check out.
A separate email is sent when your item is fulfilled and ready to head your way. The tracking number can take up to 48 hours to update.
USPS, UPS and FedEx are delivery options for USA.
UPS, FedEx and DHL are delivery options for International Customers only.
USA Note: USPS shipments are often delayed but rarely lost. USPS has been known to take up to 30 days to deliver.
International Note: You are responsible for all additional costs related to customs and duties.


